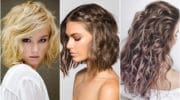
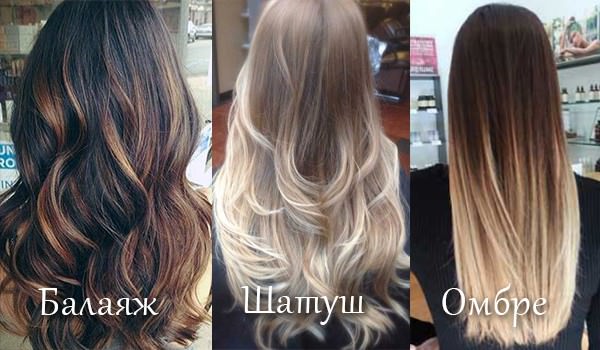
Surely many people are familiar with such a technique for dyeing hair as highlighting. However, over the past couple of years, modern stylists have presented us with such techniques as ombre, batatush and, of course, balayazh. These names do not tell us anything, but each of these highlighting techniques has its own subtleties and peculiarities. In this article, we will talk in detail about such a technique of highlighting and dyeing hair as balayazh.
What is a hut?
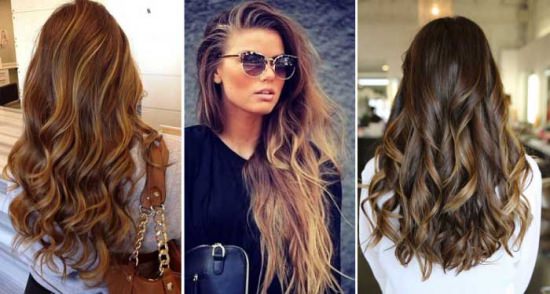
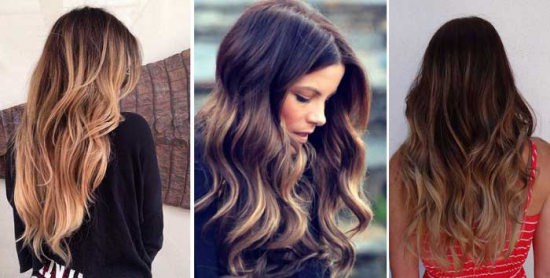
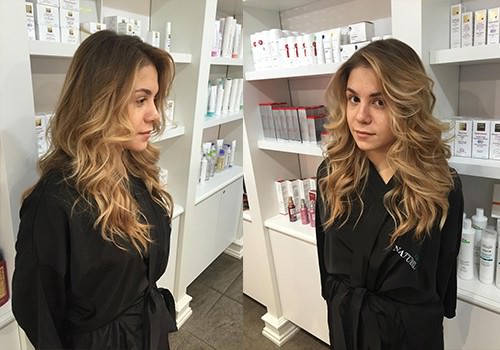
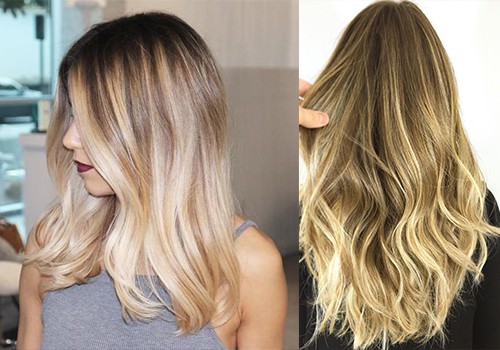
In general, “balayazh” from French means “revenge”. Indeed, the stylist, wielding a brush like a broom, creates stunning color transitions, professionally tacking between darkened roots and lighter tips. Such a play of shades creates natural naturalness and naturalness. The balayazh technique differs from others in that hair coloring begins from about the middle. Balayazh implies the presence of a maximum of three different shades, which should very smoothly flow one into another. There are no clear boundaries in this staining. The paint on the strands is applied like the Latin letter "V". Staining itself begins from the sides and gradually moves to the middle.
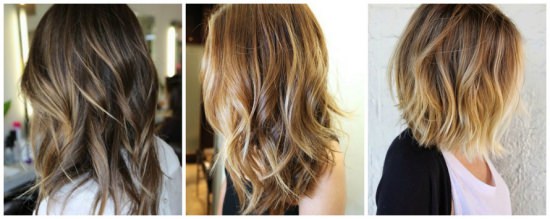
Balayazh coloring is suitable for absolutely any type of hair. Even with thin and porous hair, using this technique, you can give the desired volume and amazing shine. In addition, using this technique, hair damage is minimized, since only half the length of the hair is dyed. However, many stylists resort to full hair coloring, slightly changing the basic shade.
The technique of dyeing hair balayazh
Of course, stylists recommend contacting professionals for any type of staining. After all, only a trained and trained master with extensive experience will be able to really transform you and complete the coloring efficiently, quickly and skillfully. However, the services of such a master are quite impressive. Hair coloring according to the technique of balayazh can be done at home. But be prepared that the first time you may not succeed. In any case, subject to all the rules and subtleties, staining should be at the level.
So, first of all, you need to prepare materials and tools:
- Paint suitable shades;
- Ware for mixing components;
- Paint brush;
- Sharp-tip comb;
- Film pre-cut into rectangles measuring approximately 30 by 15 centimeters;
- Hair clips;
- Hand protection (gloves).
After preparing everything you need, you can begin to stain:
- Initially, you need to wear hand protection and clothing (gloves and a wrap so that the paint does not stain clothes).
- Next, you need to prepare the paint by mixing all the necessary components for this according to the instructions on the package.
- We begin dyeing from the bottom of the hair, and fix the entire top with a clip. First of all, we paint the temporal and occipital parts.
- We divide the hair into separate strands, about 2-4 centimeters wide (the width depends on the density of your hair: the thicker the hair, the wider the strand).
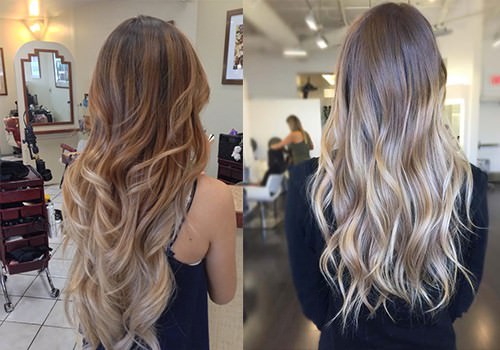
- We apply the lightest shade of paint along the edges of the strand, slightly shading towards the middle, we usually paint the tips.
- In the middle of the strand, we apply the paint of an intermediate shade, also not forgetting to blend it.
- We cover the colored strands with a film and go to the next row of hair.
- Similarly, we color all the hair.
- After the expiration of the time specified in the instructions, wash off the paint.
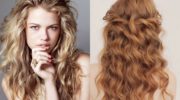
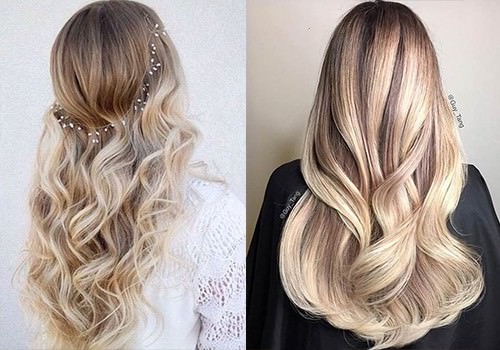
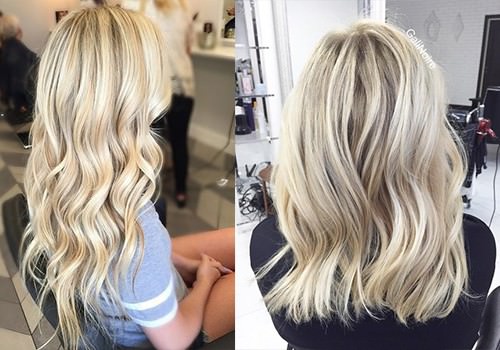
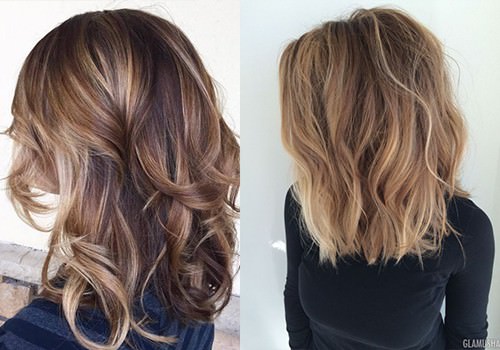
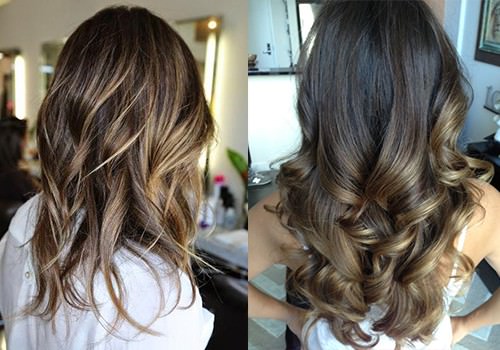
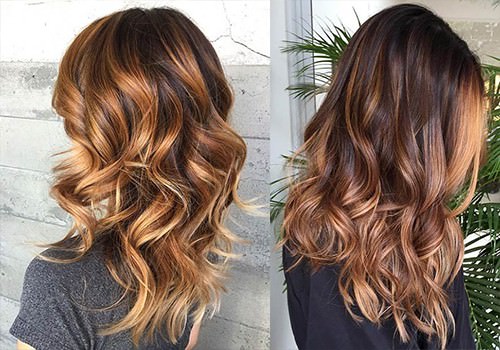
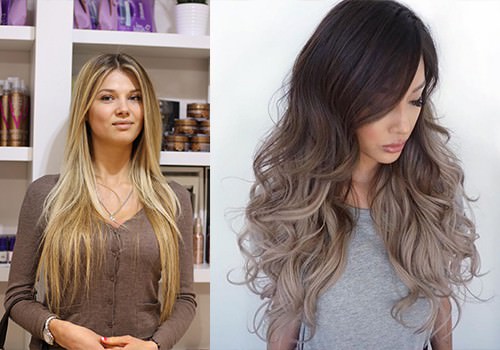
Dyeing balayazh on fair hair
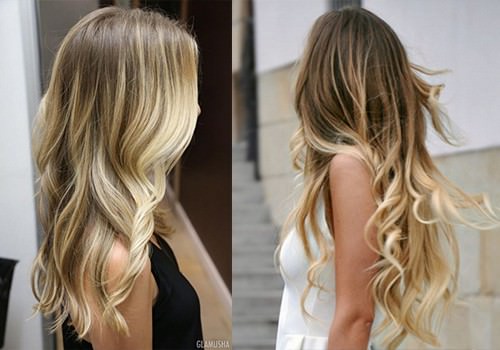
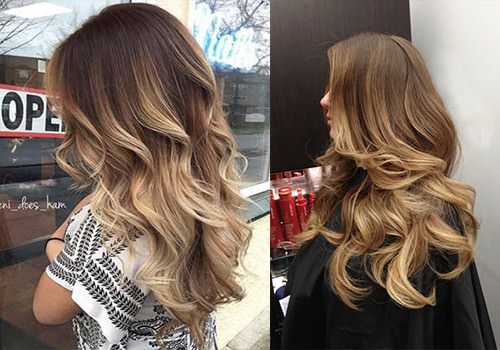
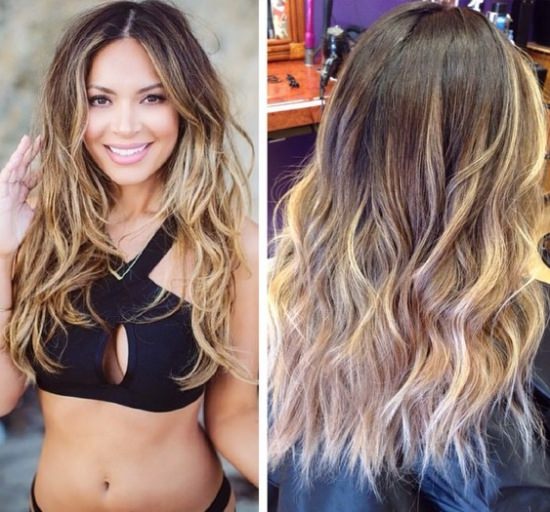

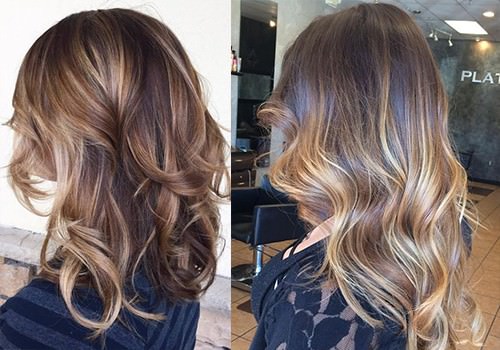
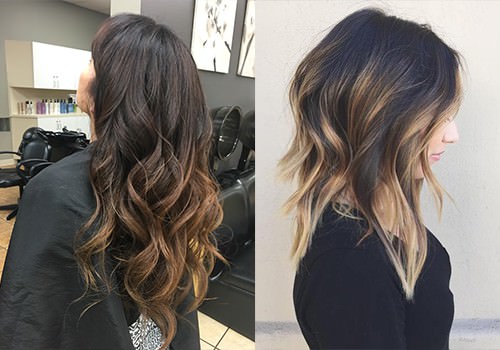
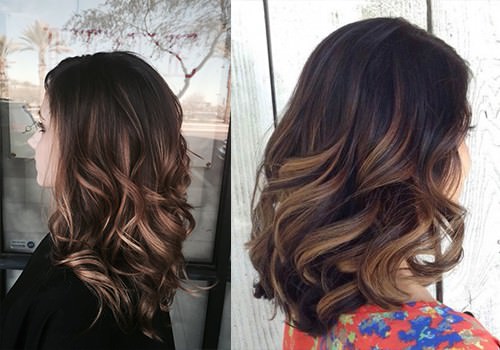
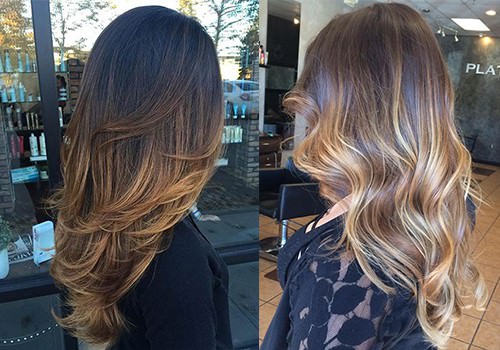
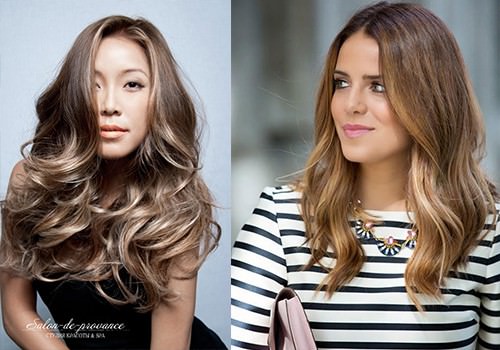
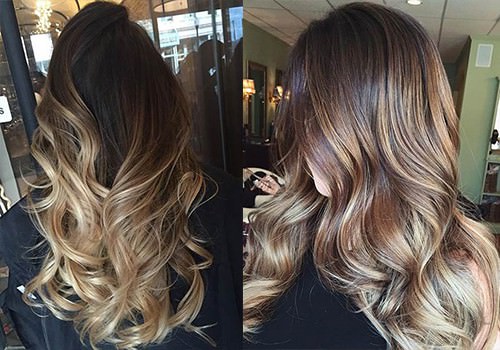
Dyeing balayazh on dark hair
Video